
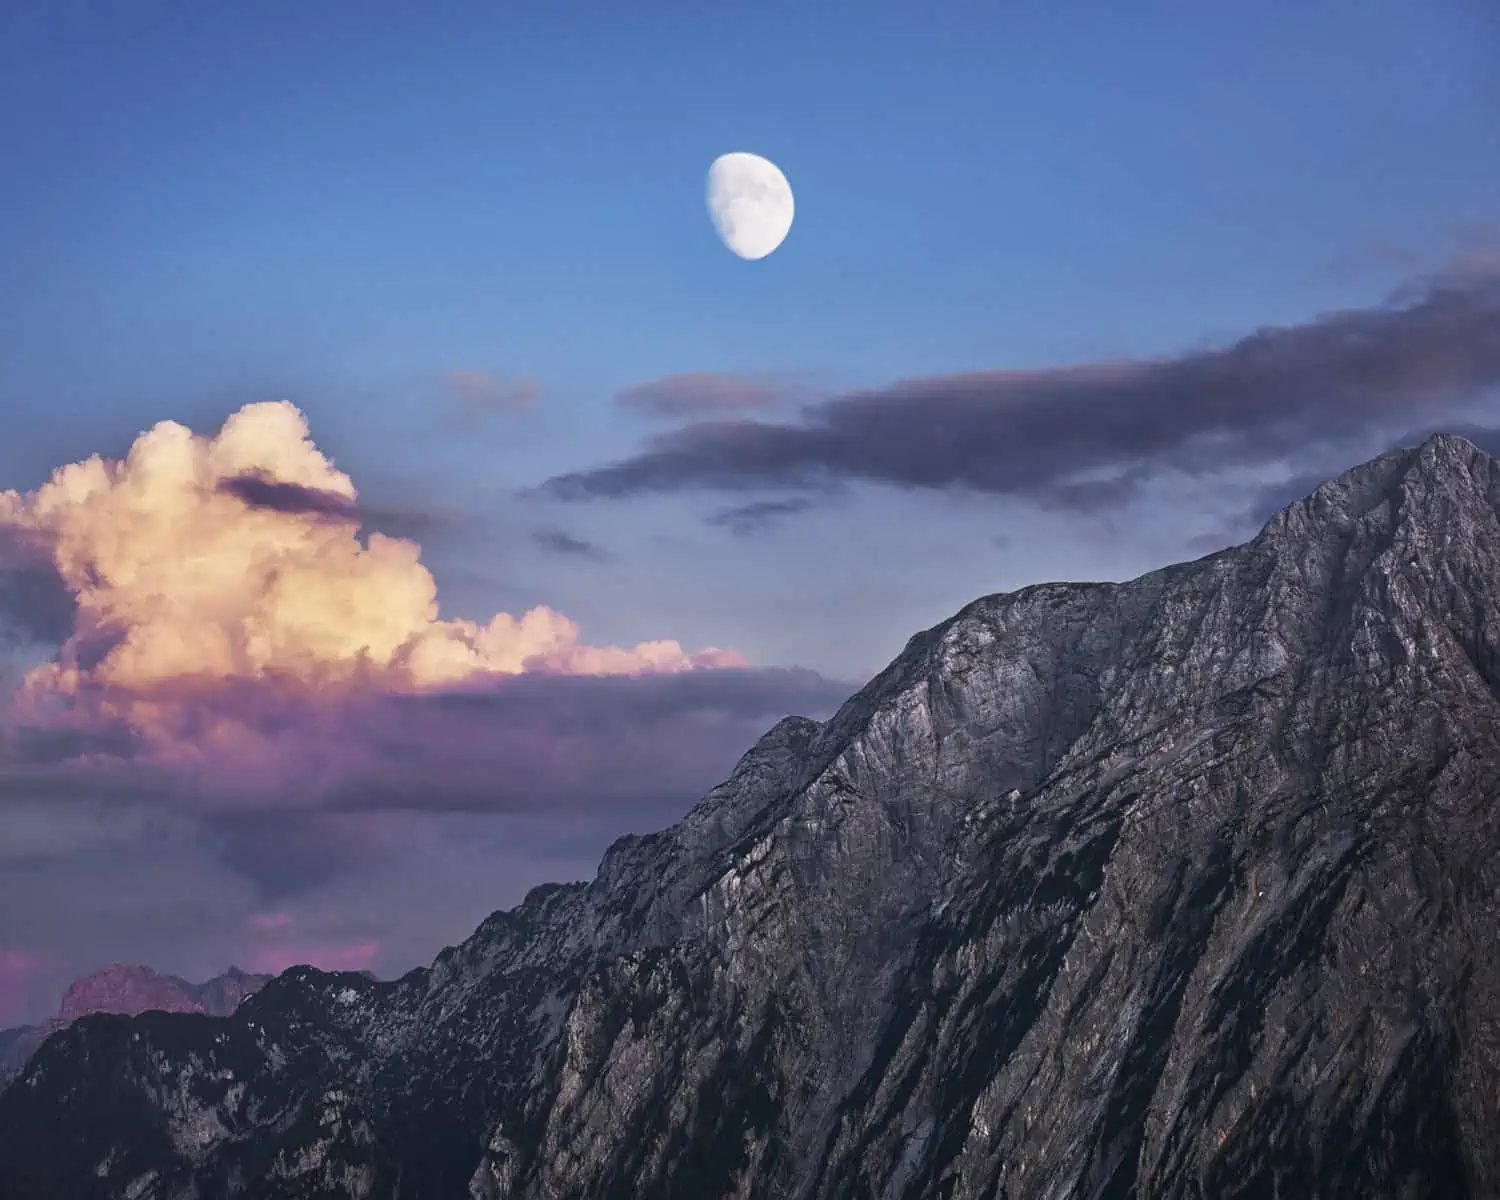
If you have even the most passing of interests in the outdoors, then you’ll certainly know that photography and the outdoors go hand in hand. Even the briefest look at Instagram or the most cursory search on Google for route suggestions will likely present a wealth of imagery and whilst some – maybe most of it – is fairly uninspiring, there’s also plenty out there that is spectacular.The kind of images that inspire and make you want to go outside and explore.
Perhaps these images have inspired you to up your photographic game? Perhaps you’ve just started walking and want to share your experiences online? Or maybe you’re a seasoned explorer who feels like your images don’t quite convey the scale of your adventures? Whatever the case, this article is for you! We’re going to look at some simple steps you can take to improve the images you’re making in the outdoors. The great thing about this is that it doesn’t really require any special effort on your part: if you’re already going out on walks and taking photos, then you can easily integrate these tips into your hikes.
There’s a misconception that taking great photos outdoors is difficult. That you need specialised or expensive equipment. It’s true that experience and gear can help you to make better images, but it’s also absolutely true that you need neither to be able to start taking good images. If you look online, you’ll find no end of top tips lists for improving you images. Whilst there’s certainly good advice in many of these, I often find these articles very rigid, and really just geared towards getting you to click on affiliate purchase links. As an example, one tip I often see is ‘always use a tripod’. In principle, that’s great advice, but in the real world it’s not always practical or even possible. Using a tripod is great, and sometimes essential to get certain images but you loose an element of spontinaity and the ability to quickly respond to changing surroundings as soon as you lock your camera down. I don’t always use a tripod – in fact, I work with the camera hand held most of the time. So, the tips we’re going to look at here are less to do with gear and more to do with shaping your attitude towards image making – I think that’s much more important. If you want to buy a tripod (or whatever) after reading the article, then that’s fine, but I’d also say it’s far from essential – indeed, provided you have some sort of working camera, then you don’t really need to buy anything else at all!
As I write – in May 2020 – the world is still by and large under lockdown due to the Covid-19 outbreak. Many of us will have seen our freedom of movement greatly – but I think necessarily – limited to help stop the spread of the disease. The good news is that many of us are still allowed out for exercise and, if you’re using this time for walking, this is a great opportunity to practice your photographic skills.
Let’s start off by asking ourselves a few questions:
What type of photography do you want to create?
This is the first question you need to look at – and it’s an important one, as it will dictate the approach you take to your images making. Do you want to create landscape photos? Well, most of you will probably say yes to this, but let’s look a bit deeper: There’s a difference between a landscape photographer and someone who takes landscape photos whilst out hiking. The difference is a matter of priorities.
If you’re main goal is to get the best possible images, then your photography must take priority over everything else. That means you’ll time your hikes to get the best light – that might mean starting or finishing your walk in the dark. You might carry a lot of heavy equipment and that means you might plan a route that gets you to your photo locations in the quickest, most efficient way. Above all else, you might not ‘complete’ your routes in the same way: if you want to take the best photos of a mountain, for instance, then you don’t necessarily need to hike to the top!
If your interests are shooting outdoors sports or wildlife, then you’ll need a similar approach to the dedicated landscape photographer – prioritising your image over your physical journey.
Now, there’s nothing wrong with this approach, but we come at things slightly differently – and I think our approach will resonate better with most of our readers: Whilst we do shoot landscapes, we’re not really landscape photographers in the traditional sense. For us, the journey – the hike, the climb – is just as important as the images we get from it. That’s our angle – we don’t shoot landscapes, we shoot our adventures… and it just so happens that our adventures involve beautiful landscapes.
It might seem like a small difference, splitting semantic hairs, but I think it’s very important to make this distinction and to decide which way you want to go (but remember, you can change your approach on a walk by walk basis – flexibility is key!).The reason is practical. Yes, producing great images is critically important for us, but so too are our hikes and adventures. We can let our photography hold up our adventure, but we can’t let it stop it. Practically, this means we might come to an amazing view point. All the elements are there, but we know that the sunset light will transform the view into something magical. A dedicated landscape photographer might then wait for the light, cutting short their hike. We don’t… well, sometimes we do, but mostly we don’t. Instead, we aim to be opportunistic – make the most out of the landscape as we experience it. We’ve written an entire article about this if you’d like to explore a little more.
What equipment do you need?
Do you know what GAS is? It stands for ‘Gear Acquisition Syndrome’ and it’s something you’ll encounter very soon if you ever go reading photography forums and blogs. It’s a simple enough idea: people like things and they like to justify to themselves why they should buy new things. The more expensive the thing, the more justification it needs before it can be bought. It’s simple enough to give examples: ‘Would I be a better photographer if I had X, Y or Z equipment?’ ‘What type of gear do I need to buy in order to photography X, Y or Z?’
There’s nothing wrong with GAS. If buying cameras, lenses and accessories brings you happiness, then go ahead and knock yourself out.
But you don’t need to.
Pretty much every one of us will already have a high-quality camera already in the shape of our phones and the images you can produce with your phone – without any knowledge of shutter speed, ISO and apertures – can be incredible. I’d argue that smartphones with cameras are the most disruptive thing to happen to the photography industry ever (and I’m putting that up against things like the introduction of colour film and the shift to digital from film).The camera on your phone is incredible.It’s tiny and light and you probably already carry it with you pretty much everywhere. So, if you’re looking for some place to start, then your phone is great.In fact, whenever I’m asked to recommend a camera to friends, my first response is always to advise starting off with your phone.
Of course, if you decide you love taking photos, then you’ll likely want to progress onto a ‘proper’ camera. If you just move onto a dedicated point-and-shoot from your phone, then you might be disappointed by the results – it might even be a step backwards. But a more advanced SLR or mirrorless camera can, in the right hands, give far better results than your phone. However, ‘in the right hands’ is important here. More advanced cameras come with a learning curve and it is not unusual to be disappointed by your results if you don’t’ take the time to learn how to use the camera to its full potential – I’ve had many people contact me in the past, dejectedly telling me they preferred their camera phone images to what they’re getting from their expensive new DSLR.
Learning how to use a camera in full manual mode – which is really what you need to be doing to get the absolute best out of it – is beyond the scope of this article, but I will say it can be an intimidating and confusing process for the beginner. It demands a real investment in time before you will start to see the benefits. So caveat emptor if you decide to buy into a pricey camera system. However, the rewards and benefits are certainly there. We use high-end gear for our work – cameras and lenses that cost us thousands of pounds. We could certainly still produce much of our work on far cheaper gear, but not all of it!The equipment we use has enabled us to produce work in many tough situations and we would not go back to more basic gear! We havea longer article here about how we select our equipment – all our equipment, not just photo gear – for our trips.
There’s an old phrase about photography that your gear doesn’t matter. I’d argue that isn’t completely true, but I do agree with the sentiment: your ideas and eye for composition are far more important than the tools you use to capture it.
Let’s look at composition and colour
Now that you’ve worked out what type of images you want to take and what you’re going to take them with, you can finally get to the juicy part: How do you make your images better? The obvious place to start is with composition and, by extension, colour. This is the foundation to elevating the quality of your images.
The best way forward here is to look at some image you like and try to analyse what it is you like about them. Why are they interesting? How and why do they hold your attention? If you’ve had any sort of formal art training – even if that was studying art in high school – you’ll know that you don’t just like or dislike images for no reason. Composition and aesthetics are a complex issue and vast tracts of theory have been written on these subjects. However, we can start to boil this down to a few basic rules.
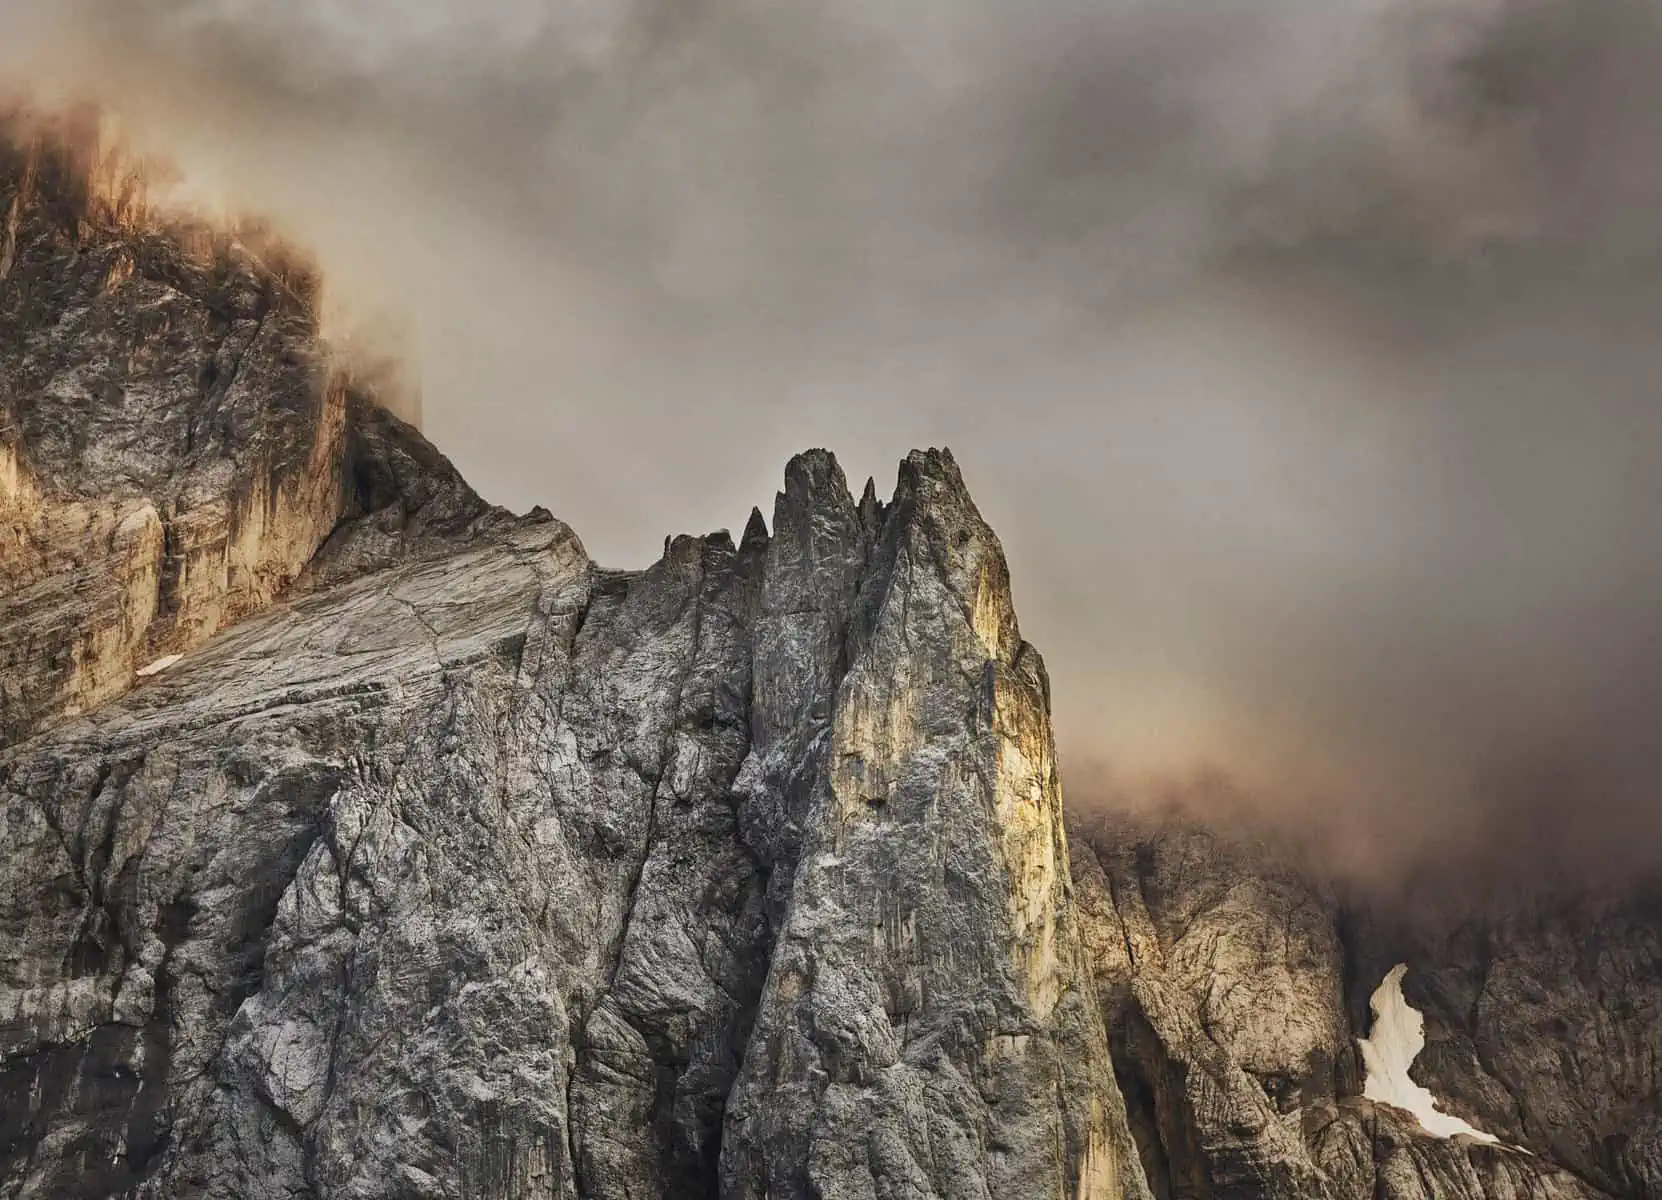
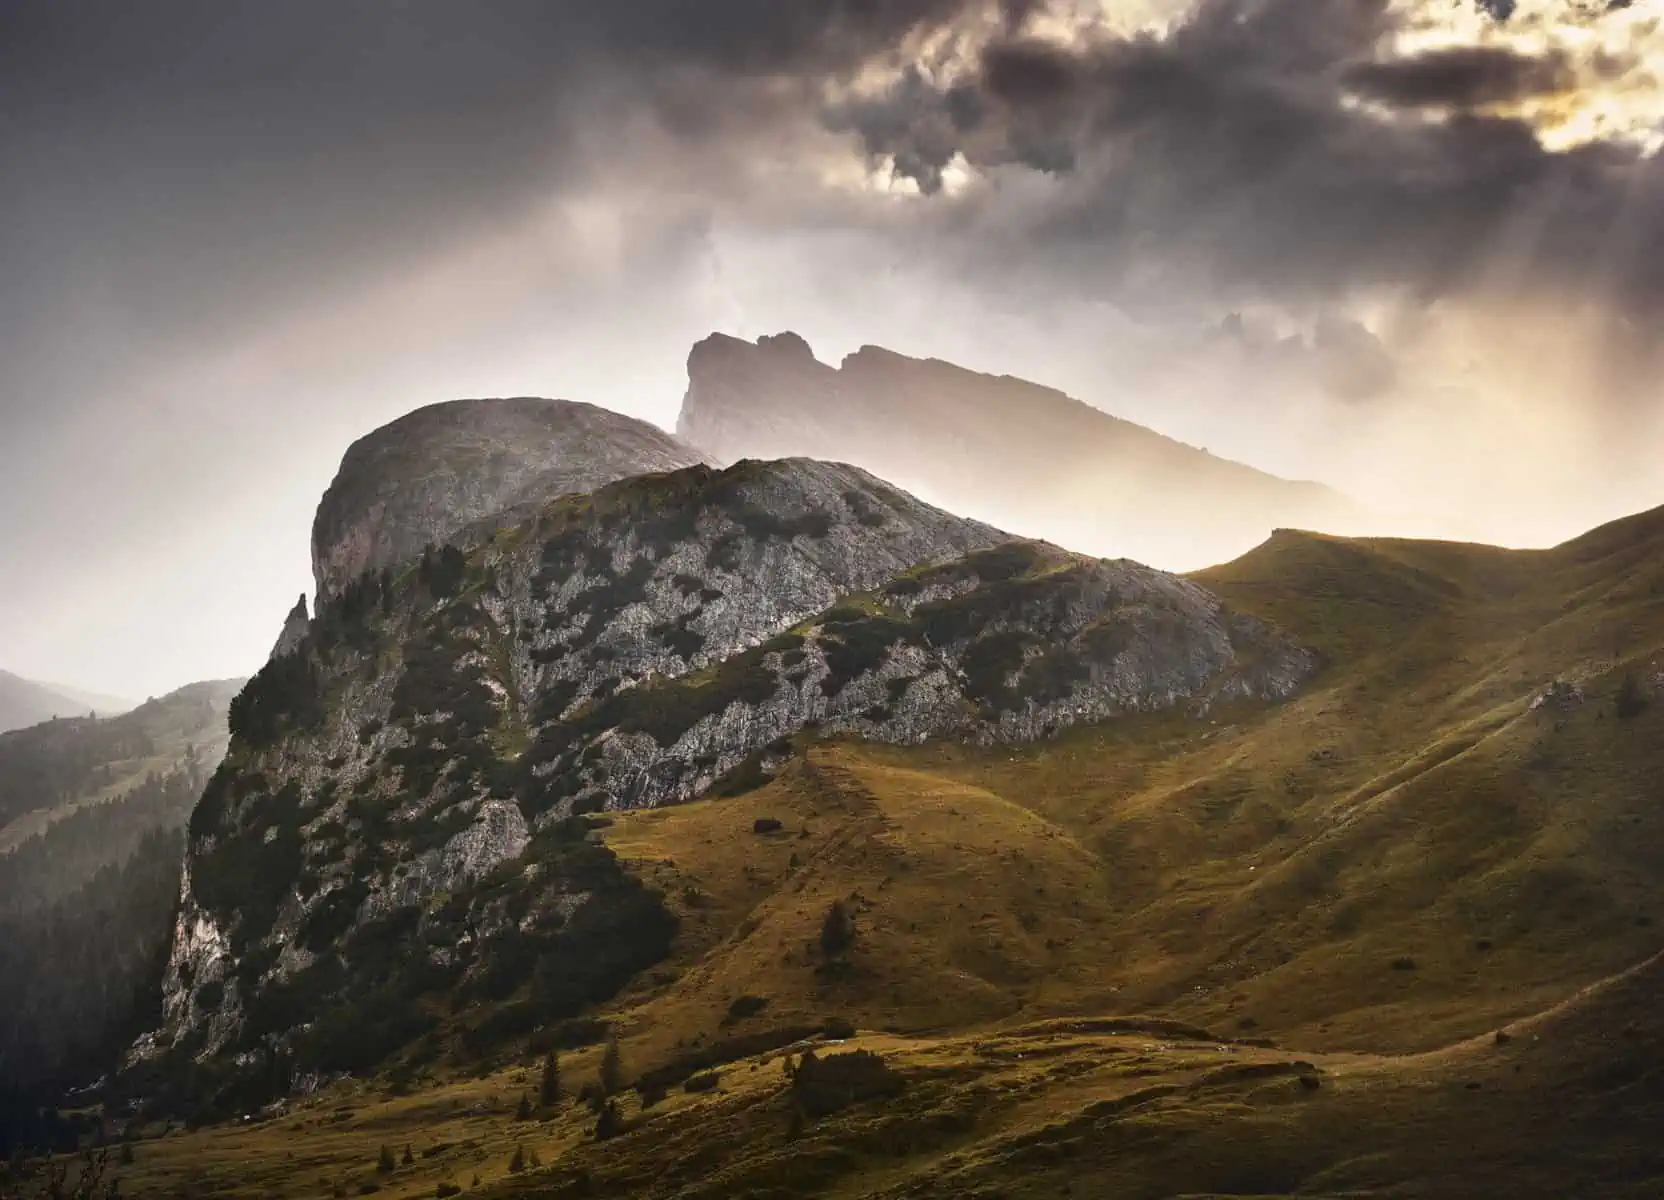
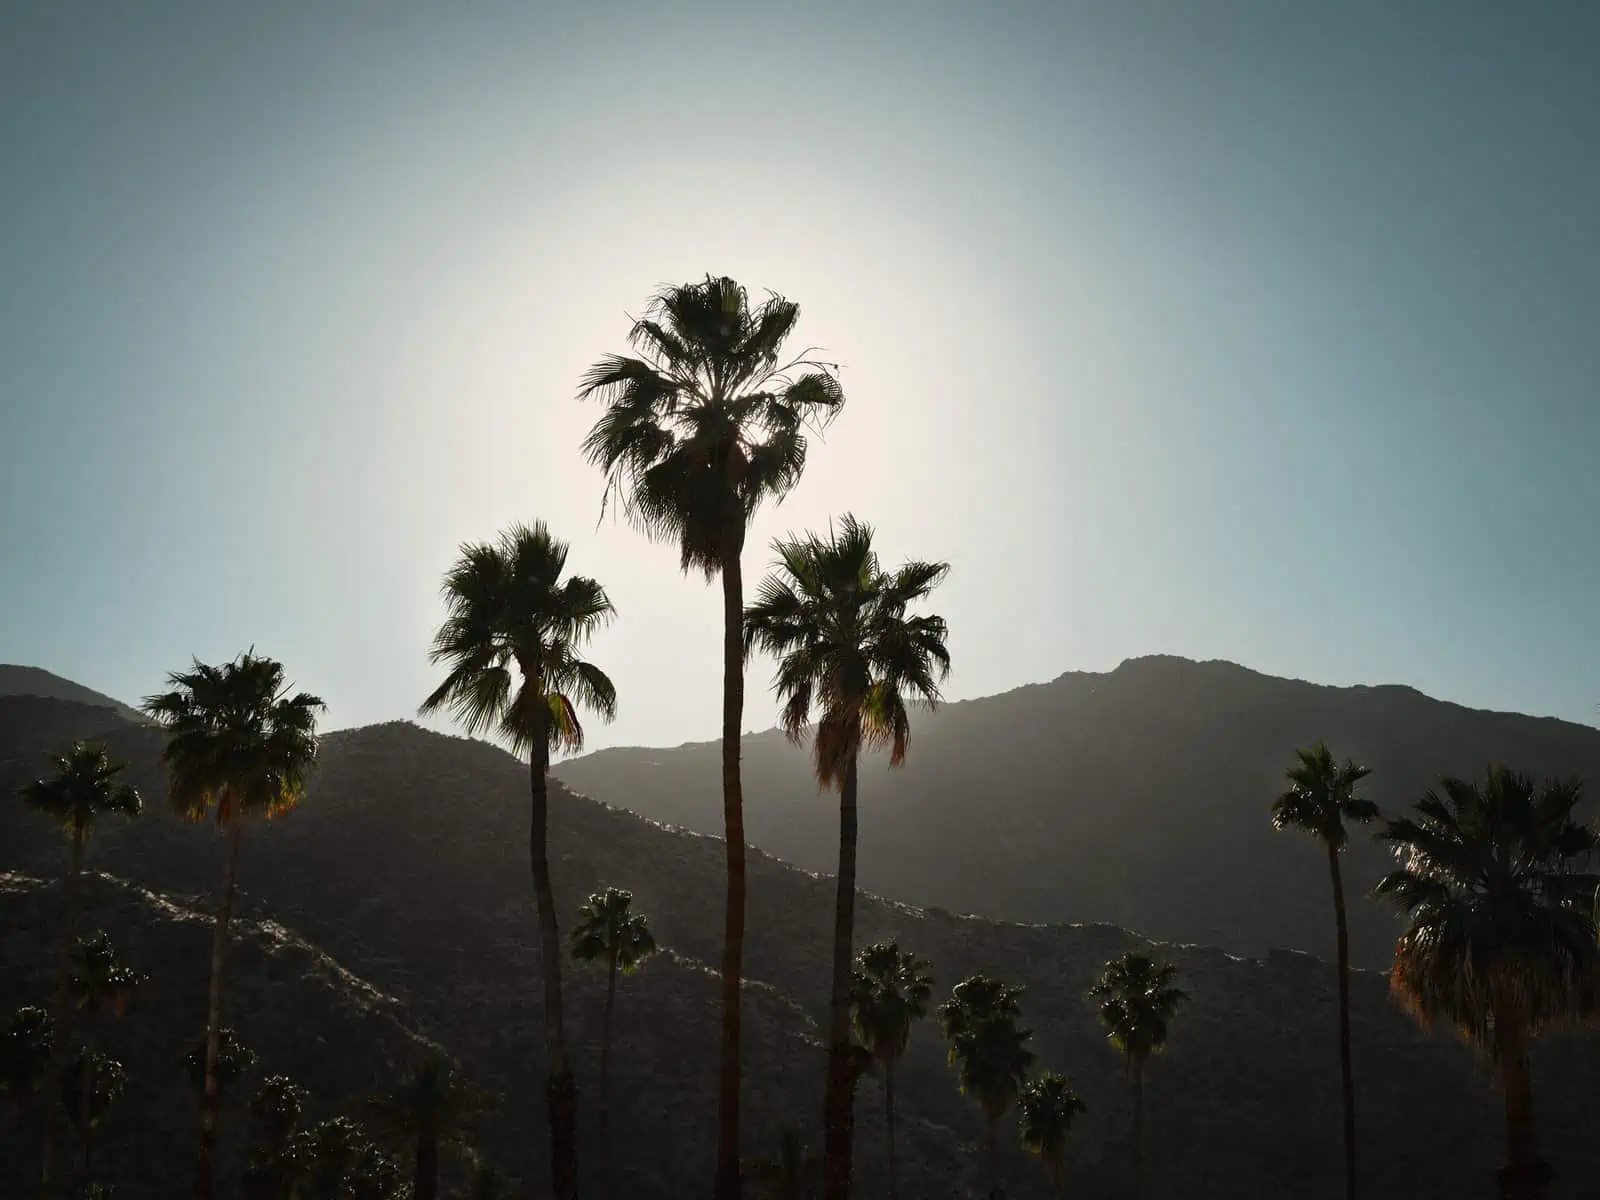
First of all, your image should have a focal point – a central subject or motif that you want your viewer to look at. You can then also use other elements in your image to ‘lead’ the viewer’s eye towards the focus. Let’s look at an example: If you just point your camera at a landscape and click the shutter, you might create an initially interesting image (‘that’s a lovely view!’), but it’s not necessarily captivating. However, if you photograph ‘things’ in your landscape, then you have the basis of a much more engaging phot. This ‘thing’ might be a tree on a ridge line, a rock in the foreground or something more abstract like the shape made by a waterfall as it traces its way down a cliff, or the repeated pattern of tree trunks in a forest.
You can combine elements to make more interesting compositions: a strong shape caused by a line of rocks or a trail leading off might draw the viewer to another element like a distant hill or tree.
Colour – or tone if you choose to work in black and white – is also a powerful compositional element. Difference in colour in foliage. Veins of minerals in rock formations. The golden light cast by a sunset. These can all be used as powerful compositional elements.
They key thing, I think, is not to clutter your images. If you see an interesting subject, try not to confuse it by including too may superfluous items in your composition. One thing I often see when talking to new photographers is that they try to cram everything in to one image. It might seem smart to try to capture the full majesty of a scene in one image, but I often think these compositions can be confusing and overwhelming. Ask yourself would a better approach be to focus on smaller details?
All of these factors come together in good photography to lead your viewer around the image. Strong, graphic elements may lead their eye to a certain element of the composition and then onto another. Your viewer is not simply looking at the image but engaging with it and exploring it. A great image will hold a viewer’s attention and thus stay in their memory.
Also, don’t just limit yourself to one or two images. I think the biggest difference between experienced an inexperienced photographers is the number of images they take, or at the very least, the number of different compositions they will ‘test’. Even if you think you’ve got the perfect image, it’s still worth moving around your subject a bit – try different angles, try both vertical and horizontal compositions, if you have a camera with zoom lens or a phone with different cameras (wide angle, tele etc.), try switching between them. You might surprise yourself when you find something that works better than your original ‘perfect’ shot!
It’s also worth keeping an eye open for different kinds of images: many people will just snap an overview – a wide shot showing all of a view, for instance. But keep a look out for details: tighter compositions within wider scenes, patterns of light or foliage and so on. Often these can lead to much more interesting images.
If you’d like to learn more, we dig deeper into the all things compositional here, here and here.
Post-Production
The final step we are going to consider here is post-production. This seems to be a dirty word as a lot of people associate it with sketchy Photoshop work and a lack of vision – or taste – on the photographer’s part.
Whilst there’s certainly a lot of very poorly produced images out there, this is far from the full story. Any professional photographer will tell you that post-production is a vital step in their process, whether that’s editing and cropping their shoots, simple colour and contrast work either in the computer or the darkroom or something far more involved like beauty retouching or composite imaging.
The first, and arguably most important step of post-production is editing your shots. I see a lot of people dumping their entire day of shooting on social media. Now, whilst you might be legitimately doing this to have an online backup of your images (there are better way to do this, by the way…), it’s not a great way to present your best images. Simply put, they will get lost! Your viewers will not have the patience to flick through all of your images. So, if you want you images to make the most impact, the first step is to make some choices about which shots you will be presenting – two or three strong images is far better than thirty or forty images with the good ones mixed in.
Good post-production should complement good photography. If you have a bad image and want to ‘fix it in post’ then I think you’re going to be disappointed, but when applied sensibly to an image you are already happy with, post-production can really make your image sing.
The options here are varied. On one extreme, your phone likely has some editing features built into its Photo app – I know iOS certainly does. Then there are Instagram’s filters. These controls have a bad reputation as many people seem to use them in a very heavy-handed way. But, if they are used judiciously, then you can achieve great results. It’s helpful to look at images you like here. If there’s a photographer who’s handling of colour you like, try to work out how it’s been achieved: Is it just down to good timing and good light, or have they enhanced the mood? As you get more familiar with the tools in your post-production software, you can start to deduce how images are made and this knowledge will help you with refining your own images.
If you are interested in diving deeper, then dedicated programs like Capture One, Lightroom and Photoshop are the way to go – though these are all costly options with steep learning curves. However, if you feel like you have outgrown the editing functions in photo sharing apps on your phone, then these programs really do offer substantial advantages and the learning curve, though steep, is not insurmountable and the freedom and flexibility you have with your edits once you’ve mastered any of these programs is certainly worthwhile.
We written a more in-depth article about our post-production mindset here.
Bringing it all together
It can certainly seem like a daunting journey when you set out to learn a new skill, or to elevate the quality of something you’ve been doing for a long time. But photography is fun! It is a great tool for learning to appreciate the outdoors more. Perhaps you’re someone who focusses on the end point of a hike? Well, photography might allow you to slow down your walking and truly appreciate your surroundings some more. It can also offer a valuable form of escapism during difficult times – something that’s certainly important for many people right now. Whatever your motivations, the key thing is that you enjoy it. We’d love to hear how you get on in the comments!