
We’ve written a lot about preparation on the blog before – in fact, there’s a whole section dedicated to it. In a few previous articles, we’ve touched on some aspects of how camera gear factors into all of this, but so far, this is a subject we haven’t dived into in great detail.We receive so many messages from your guys about specifics of photo gear, and the logistics of travel photography that we wanted to talk about how we select and pack our equipment and also how what we are planning to achieve will influence our choice of gear and our approach to photography itself.
Fay and I have both been photography obsessed for a long, long time. As such, we have both owned and used a lot of different gear which has accumulated over the years.We both also tend not to sell old gear so, as a result, we have a lot of equipment between us, ranging from several systems worth of DSLRs to Large Format film cameras and pretty much everything in between.Beyond cameras and lenses, we have all manner of accessories too: tripods, flashguns, remote releases, studio lighting and so on.It’s true to say that the vast majority of our work is shot digitally on our most up to date cameras and lenses, but the older equipment does make appearances too from time to time.
Choosing the equipment to bring on a trip is always going to be a matter of compromise: you want to be prepared for as many picture opportunities as possible, so the obvious though is to bring along everything – and that approach works fine if you have a small amount of lightweight gear (say, a single camera body plus one or two reasonably sized lenses).As many photographers will tell you, the amount of equipment you own tends to increase, and at some point, you are likely to add specialised items to your kit bag – say a macro, tilt/shift or ultra-long telephoto lens.At this stage, it’s not always practical to carry everything – weight and physical volume is absolutely going to be an issue and, when added to the mass of the other, non-photographic equipment you need to carry, your pack weight may well be unmanageable – either physically (I can’t carry this!) or psychologically (I don’t want to carry this!).
So, it’s clear that some choices need to be made in terms of what gear you will be carrying, but before we make these, let’s back up a little and look at a more fundamental question, that has a major bearing on what gear you will carry: How do you plan to carry it?
How you carry your gear may not seem like a massively big deal but believe me it is!Comfort on any kind of trek is essential and really does make the difference between whether you enjoy and complete your plan, feeling ready to take photos as you go, or whether the hike becomes an ordeal – something to be endured and not enjoyed. For us as professional photographers, making sure the weight and carry of the gear is so important – we need to be able to concentrate on getting the shots we want and not our sore backs.
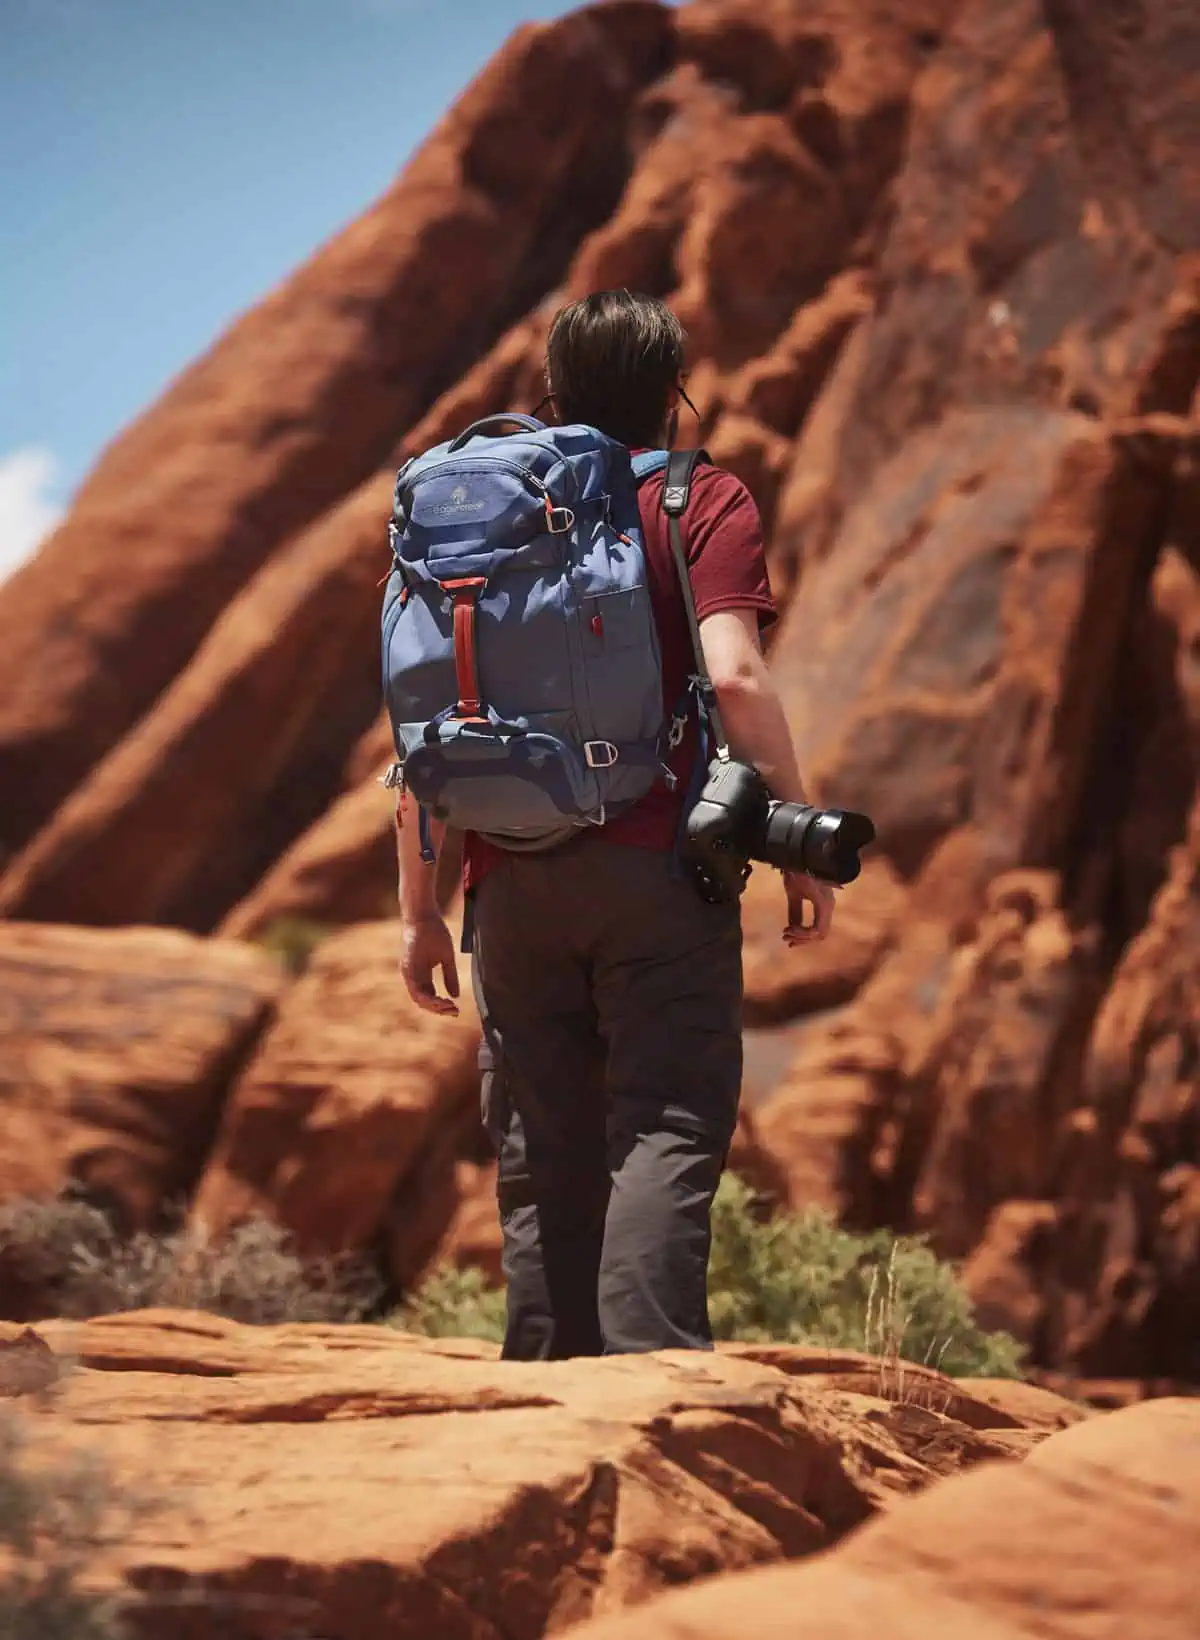
With this in mind, it’s worth taking some time to consider how you are going to carry your gear. We own plenty of camera bags such as ones that double up as a backpack, and also traditional over the shoulder types, but these were all bought when we were spending most of our time working in studios. As such, they are not the best choices to bring on hikes: our traditional shoulder bags are totally unsuitable for long distance trekking.A camera backpack is the obvious choice but even the camera backpacks we have are not that comfortable if worn for long periods of time.
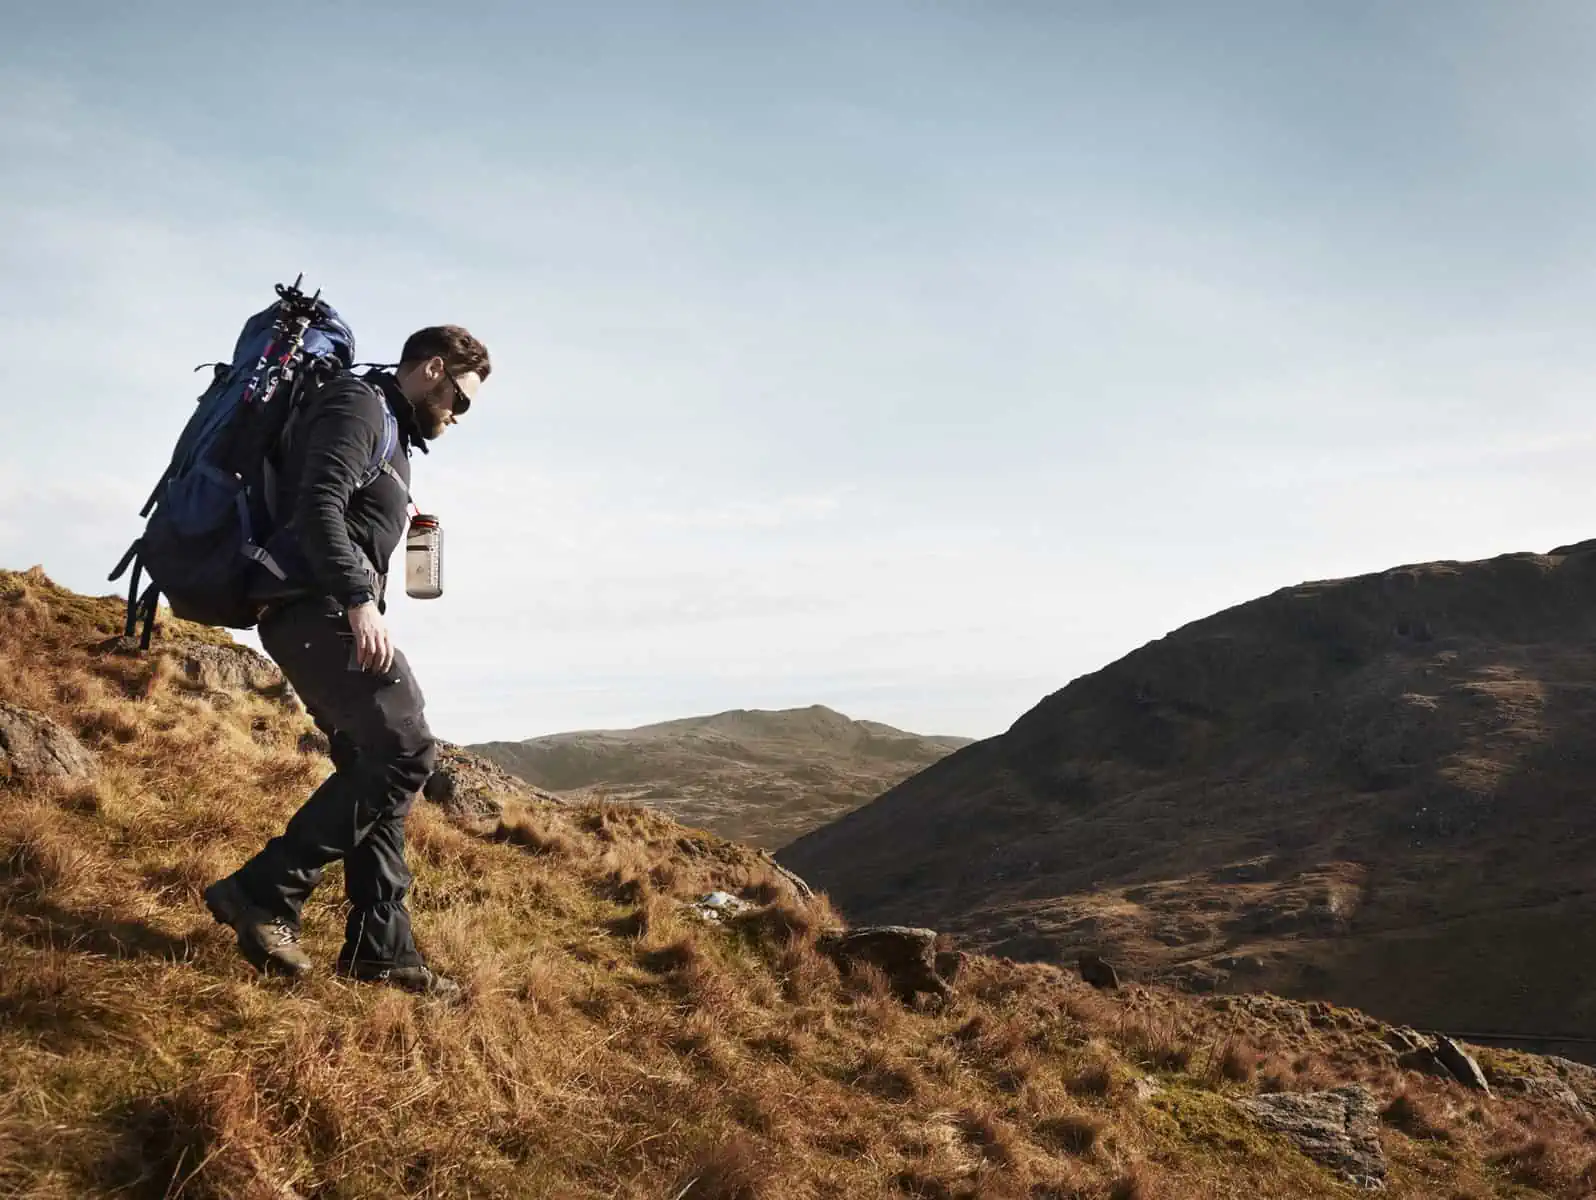
Having the correct backpack can make a massive difference to your comfort on a long hike and I can’t emphasise enough how much of a difference having a backpack with a properly adjusted suspension strap system (and therefore weight distribution) can make.As of writing, I have yet to find a dedicated camera backpack with a strap system that I truly like.That’s not to say it’s not out, but I just haven’t found it yet!So, for now, my solution is to use a regular hiking backpack and wrap my equipment in padded wraps (the wraps themselves are quite inexpensive and can easily be sought for the usual online vendors – Amazon, eBay etc.).
prAna Transverse top hereprAna Stretch Zion Convertible Pant here Eagle Creek Gear Warrior Travel Pack here
I’ve got a variety of different capacity backpacks, ranging from 28L to 80L and which one I choose will be based not just on how much camera gear I need to carry, but also the other equipment and supplies that need to come along.My smallest pack, the 28L, can pretty much hold all the gear we usually take out with use, so this is my go-to for day hikes.The larger packs are reserved for longer trips – if we intend to camp for instance – or for day hikes in extreme conditions where we might need to carry a lot of extra gear (extra clothing if we intend to hit very cold conditions or extra drinking water in deserts). In all cases, the camera gear in their protective wraps goes on top of any other items we are carrying so it can be easily accessed through the top zip of the pack.
Speaking of water, this is one thing that we all know – or at least should know – that we must carry when hiking.The exact amount will really depend on where you’re going, how long for and how hot it is, but typically I never go out with less than 2L and on a recent desert trek involving an overnight camp I carried close to 12L.However, water and camera gear do not mix well, and I’ve experienced a few near misses when water has been packed in the main compartment of the bag – mostly with leaking hydration bladders.As such, I now won’t use a bladder with anything other than my largest pack, where the bladder can be placed in a separate side pocket, well away from my camera gear.For most hikes I now prefer to use screw top plastic Nalgene bottles that go in the side pockets of the bag or looped onto the straps. Sure, you can’t access the water as quickly as you can with a bladder, but there is far less risk of spillage/puncture, so I have accepted this compromise.On the dessert trek where I carried almost 12L, most of that was taken up by two one gallon bottles (just under 8L between them), which I stowed in the bottom section of the bag with aplastic bag and layer of clothing on top of them and separating them from the camera gear – if they leaked, gravity would stop the bulk of the water from reaching the camera gear and whilst there was a risk that some might still soak up through the clothing or fabric of the bag itself, I felt this was an acceptable risk.
On longer trips, you also need to consider what equipment and accessories you need to bring along to support your photography.Every trip is different and so is everyone’s preferred workflow, but we always feel very uneasy until our memory cards are downloaded, and files duplicated.So, for everything but the shortest trip, we will also bring along at least one laptop and portable hard drives (I’m well aware that there are solutions out there that allow you to back up memory cards to a hard drive without a laptop.These look seriously interesting and we do want to investigate them at some point – it’s just that we haven’t had the time to do so properly yet! Depending on where we are going, this may also necessitate bringing along power banks so we can keep the laptops running on location, and our brand of choice is PowerTraveller.To this, you can add a myriad of cables, chargers, card readers, spare batteries and other small accessories.The gear soon mounts up on a serious photo trip!
Adding air travel into the mix brings its own set of problems.Whilst I’m happy to put tripods and cable bags into our hold luggage I absolutely would not consider bringing cameras, lenses or laptops in anything other than carry on.Airline regulations also mean that power banks – or anything containing a lithium battery – generally need to go in carry on too.You can also expect that airport security will likely take a lot of interest in a bag packed with camera gear, electronics and batteries (they seem to be especially keen on checking bags containing drones).Our preferred solution – arrived at through experience – is to pack our gear into carry-on sized rolling cases whilst the backpacks we’ll use whilst actually shooting go in with our checked luggage. The advantage of this type of case is that it can be easily and quickly unpacked and packed when security take an interest in it.We use regular carry-on bags such as Eagle Creek, rather than hard, traditional photographers flight cases. The reason for this is that a normal luggage bag is both cheaper, and lighter than a hard case (especially important as airlines become more restrictive with baggage allowances). Once we’ve arrived at our destination, we tend to keep the gear in the carry-on bags and transfer what we need each day into our day packs – thus ensuring that we are never carrying more than is necessary.
Eagle Creek Gear Warrior Travel Pack here
This neatly brings us back to equipment choice and, as you’ve probably already gathered, everything you decide to bring with you should earn its place in your bag.It’s a simple enough process: ask yourself what value a certain piece of equipment will bring to your trip.Will you actually use it? Will it allow you to create images you otherwise couldn’t?This interrogation process can lead to some interesting results: we have two macro lenses in our DSLR kit and, whilst they are both relatively small and light, we usually don’t bring them on trips as don’t tend to shoot much close-up work and their focal lengths are covered by zoom lenses which we will be bringing.On the other hand, we also have a 200-400mm zoom lens.This thing is massive and very heavy.Most of the time, it is not appropriate for our work, but there are a small number of times when a scene presents itself and this lens really comes into its own.We have created some very unique images with this lens, so even though I know it won’t be used very often, I’ll make space for this lens in our kit bags.
This is a very personal process, and really, much of it depends on how you approach photography and your own shooting preferences. I prefer working with long lenses, so will generally pack telephotos over ultra-wide angles, whereas Fay likes to swap between longer and shorter lenses.Similarly, much of our photography is done on long hikes where mobility and speed are a key consideration.As such, a lot of our work is shot hand-held, so I can easily rationalise leaving the tripod in the car most of the time. Fay and I also pool our gear.We both carry a camera body, but unless we have chosen to work with different camera systems, we won’t duplicate lenses – so we will only carry one of each lens.Certainly, there are times when we both want to be using the same lens, but most of the time, this arrangement works well and either saves a lot of weight or allows us to carry a wider range of lenses between us.
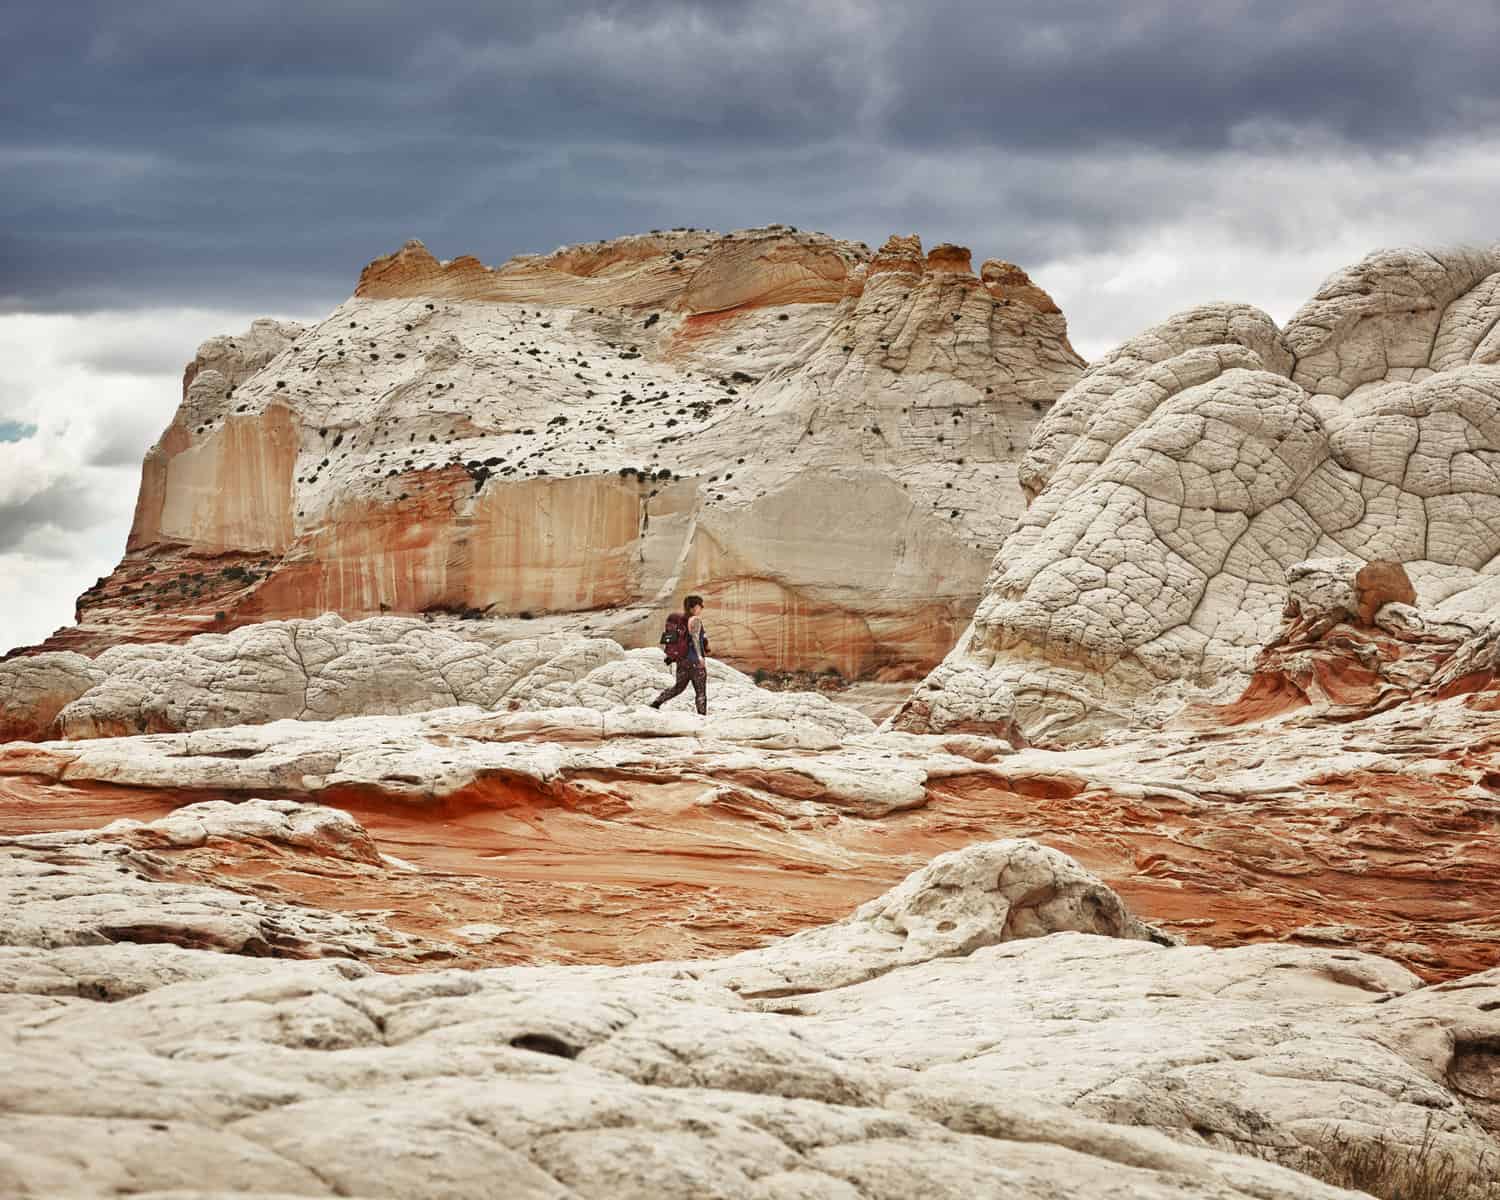
The location you will be visiting should also influence your equipment choice.Recently, we’ve been hiking through Slot Canyons in Utah, and knowing that these are very confined spaces, I’ve favoured bringing wide angles over very long lenses.These decisions are not always easy and there have certainly been times when I’ve missed an amazing image because I haven’t had a certain lens with me.These instances are certainly frustrating, but I think you have to be pragmatic: if you’ve exhausted yourself on a hike, it is not helpful to criticise yourself for not bringing along an extra lens and consequently not getting a shot exactly how you wanted.You made the decision not to carry that weight for a good reason – perhaps if you’d been carrying it, you would have had to turn back and not seen the potential shot at all! In cases like these, it’s so important to adopt the mindset of being opportunistic with your photography – this can also be a wonderful opportunity to shoot something different from what you originally had in mind – an open mind is one of your best tools.
The above methods work well for us most of the time – in fact it’s fair to say we could plan all of our trips this way.However, sometimes, I like to mix things up a bit.Back when I was studying photography, my tutors used to say that your equipment didn’t matter.Of course, they were saying this because many students would say their work would be better if only they had this camera or that lens.I disagreed with them.I believe that your choice of equipment will influence how the work you produce looks simply because different cameras encourage you to work in different ways.
A very long time ago, I saw an old black and white contact print of a photo from a football match – it was probably from the 1940s or 50s.The photographer had captured the goalkeeper leaping towards an incoming ball.It was a great image, but what really struck me about it was that I could see from the film rebate that it had been shot on large format film.I don’t think many people in their right mind would think about using large format for sports photography – it just doesn’t make sense, but here was someone doing just that.When I think of photographers at football matches, I think of long lenses and fast autofocus tracking the action.This isn’t possible with large format, so the photographer had set up their camera, pre focussed on a point and waited for the action to come to them.Maybe that was the way you approached photographing a football match back then and there was nothing unusual about this shot, but it certainly wasn’t how you’d approach it now.But it really made an impact on me.If you choose to use different equipment, you set yourself a different set of operational limits and challenges and from this you can develop a fresh approach to your subject, which in turn can lead to some unique images.
Nalgene 32oz Wide Mouth Bottle here
Right at the start I said that Fay and I have quite a collection of equipment between us, and we will often dip into this when we feel like mixing things up a bit.Sometimes there is an obvious need for a piece of specialised equipment. When we shot a surfer a few years back, we wanted to produce some images in the water.We have a Nikonos V underwater film camera in our kit, and this was an obvious use for it.Sometimes, however, it’s not so obvious.Sometimes, I might go out with my DSLR but deliberately only take one seldom used lens – forcing myself to actively look for compositions that suit its angle of view, rather than seeing a potential scene and then selecting the most appropriate lens.We have all manner of weird and wonderful film cameras – from a 1950s Rolleiflex TLR to a Large Format SINAR monorail view camera.They all still get used and, whilst the images we produce from them are generally a bit too different from most of our work to make it into our main portfolio, using this gear for certain projects is still, I think, a very useful exercise.Different cameras have different ways of seeing and help us to re-examine our subject.Deliberately limiting our equipment means we have to look harder to find compositions that work. All of this in turn feeds back into our ‘mainstream’ photography and, I believe, helps to keep our work ‘fresh’.
There really is no right or wrong way to think about and pack/organise photography equipment whilst travelling, but there is certainly an approach that can make your life easier and help you go further with the enablement that planning provides. As with anything, your planning is key and knowing all of your gear like the back of your hand, how it feels and how it carries will allow you to concentrate on the reason you’re there; to enjoy the experience!
Disclaimer: This post contains gifted items, which we regularly use and endorse. All gifted items are tagged in the relevant photo’s caption and have been labelled for ease for reference.